Generating, Building and Deploying a Subgraph
Lesson 10
Are you excited? You're about to deploy your first NEAR subgraph to The Graph's Hosted Service.
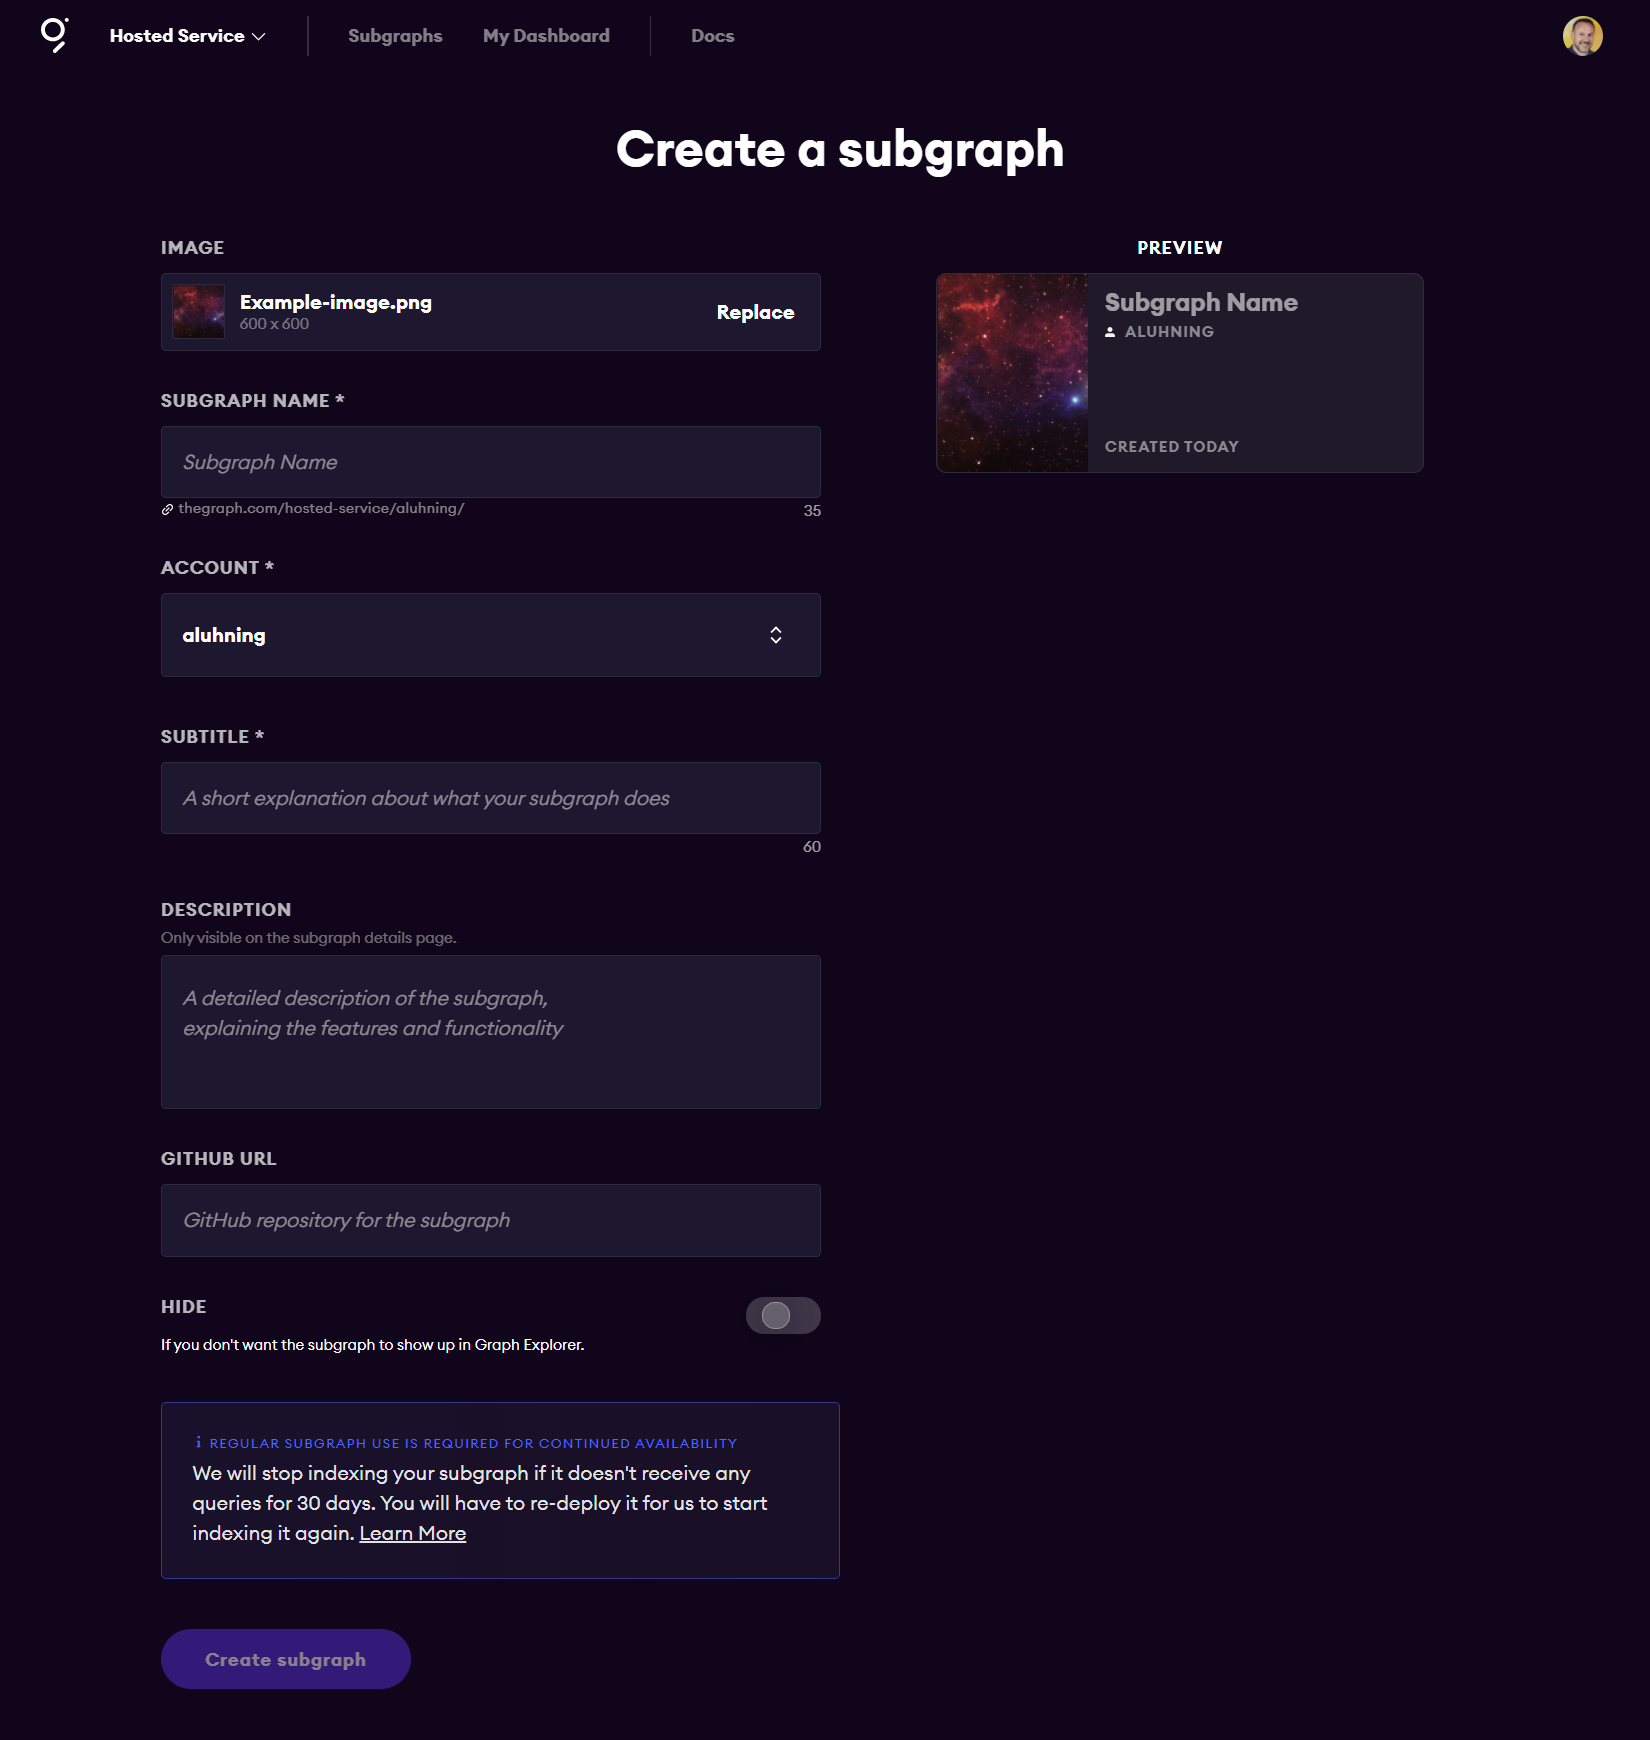
The first step to doing so is creating a place for it on the Hosted Service. So go login to your Hosted Service dashboard and click the Add Subgraph button. You'll be presented with a form to add the following information:

- Image (optional) - either leave the default or upload an image for your subgraph. It will be displayed in your dashboard and if you choose to make your subgraph public, in the subgraph directory.
- Subgraph Name (required) - choose a name for your subgraph. The name will be appended to the end of the url underneath this box which becomes it's location.
- Account (required) - dropdown list if you have multiple accounts. Usually prefilled.
- SubTitle (required) - short explanation about what your subgraph does.
- Description (optional) - longer, more detailed description explaining your subgraph's features and functionality.
- Github URL (optional) - the Github repo where your subgraph code resides.
- Hide - default is off meaning your subgraph is public and will show up in the Graph Explorer. If you want to keep it "private", turn on the hide button. It will still be accessible to anyone with the url.
Once filled out, simply click Create subgraph
You'll now have a space ready/able to accept your subgraph. If you go to the specific subgraph you just made, you should see something similar to this:

Note that the Syncing indicator doesn't currently work for NEAR subgraphs.
Key info to take note of here is the ID and the Queries (HTTP) url.
Now, let's head back to our code. Open up the package.json file in the root directory of your rep and find the deploy command in the scripts section and replace <GITHUBNAME/SUBGRAPH> with your own github name and name of the subgraph you just made in the Hosted Service.
For example, turn this:
...
"deploy": "graph deploy <GITHUBNAME/SUBGRAPH> --ipfs https://api.thegraph.com/ipfs/ --node https://api.thegraph.com/deploy/"
...
into this...
...
"deploy": "graph deploy ALuhning/DID-Registry --ipfs https://api.thegraph.com/ipfs/ --node https://api.thegraph.com/deploy/"
...
The final step before deploying to the Hosted Service is to authorize with The Graph CLI. For that you need your access token (available from your dashboard). Run the following command in your terminal from the root directory of your project and remember to replace <ACCESS_TOKEN> with your actual access token:
$ graph auth --product hosted-service <ACCESS_TOKEN>
Now you can deploy your subgraph to the Hosted Service with the following commands:
$ yarn codegen
$ yarn build
$ yarn deploy
What do those three commands do?
- yarn codegen generates the types for the GraphQL schema.
- yarn build compiles the subgraph and organizes the files in the `build` directory.
- yarn deploy sends the compiled code to the Hosted Service to make it available for indexing and querying.
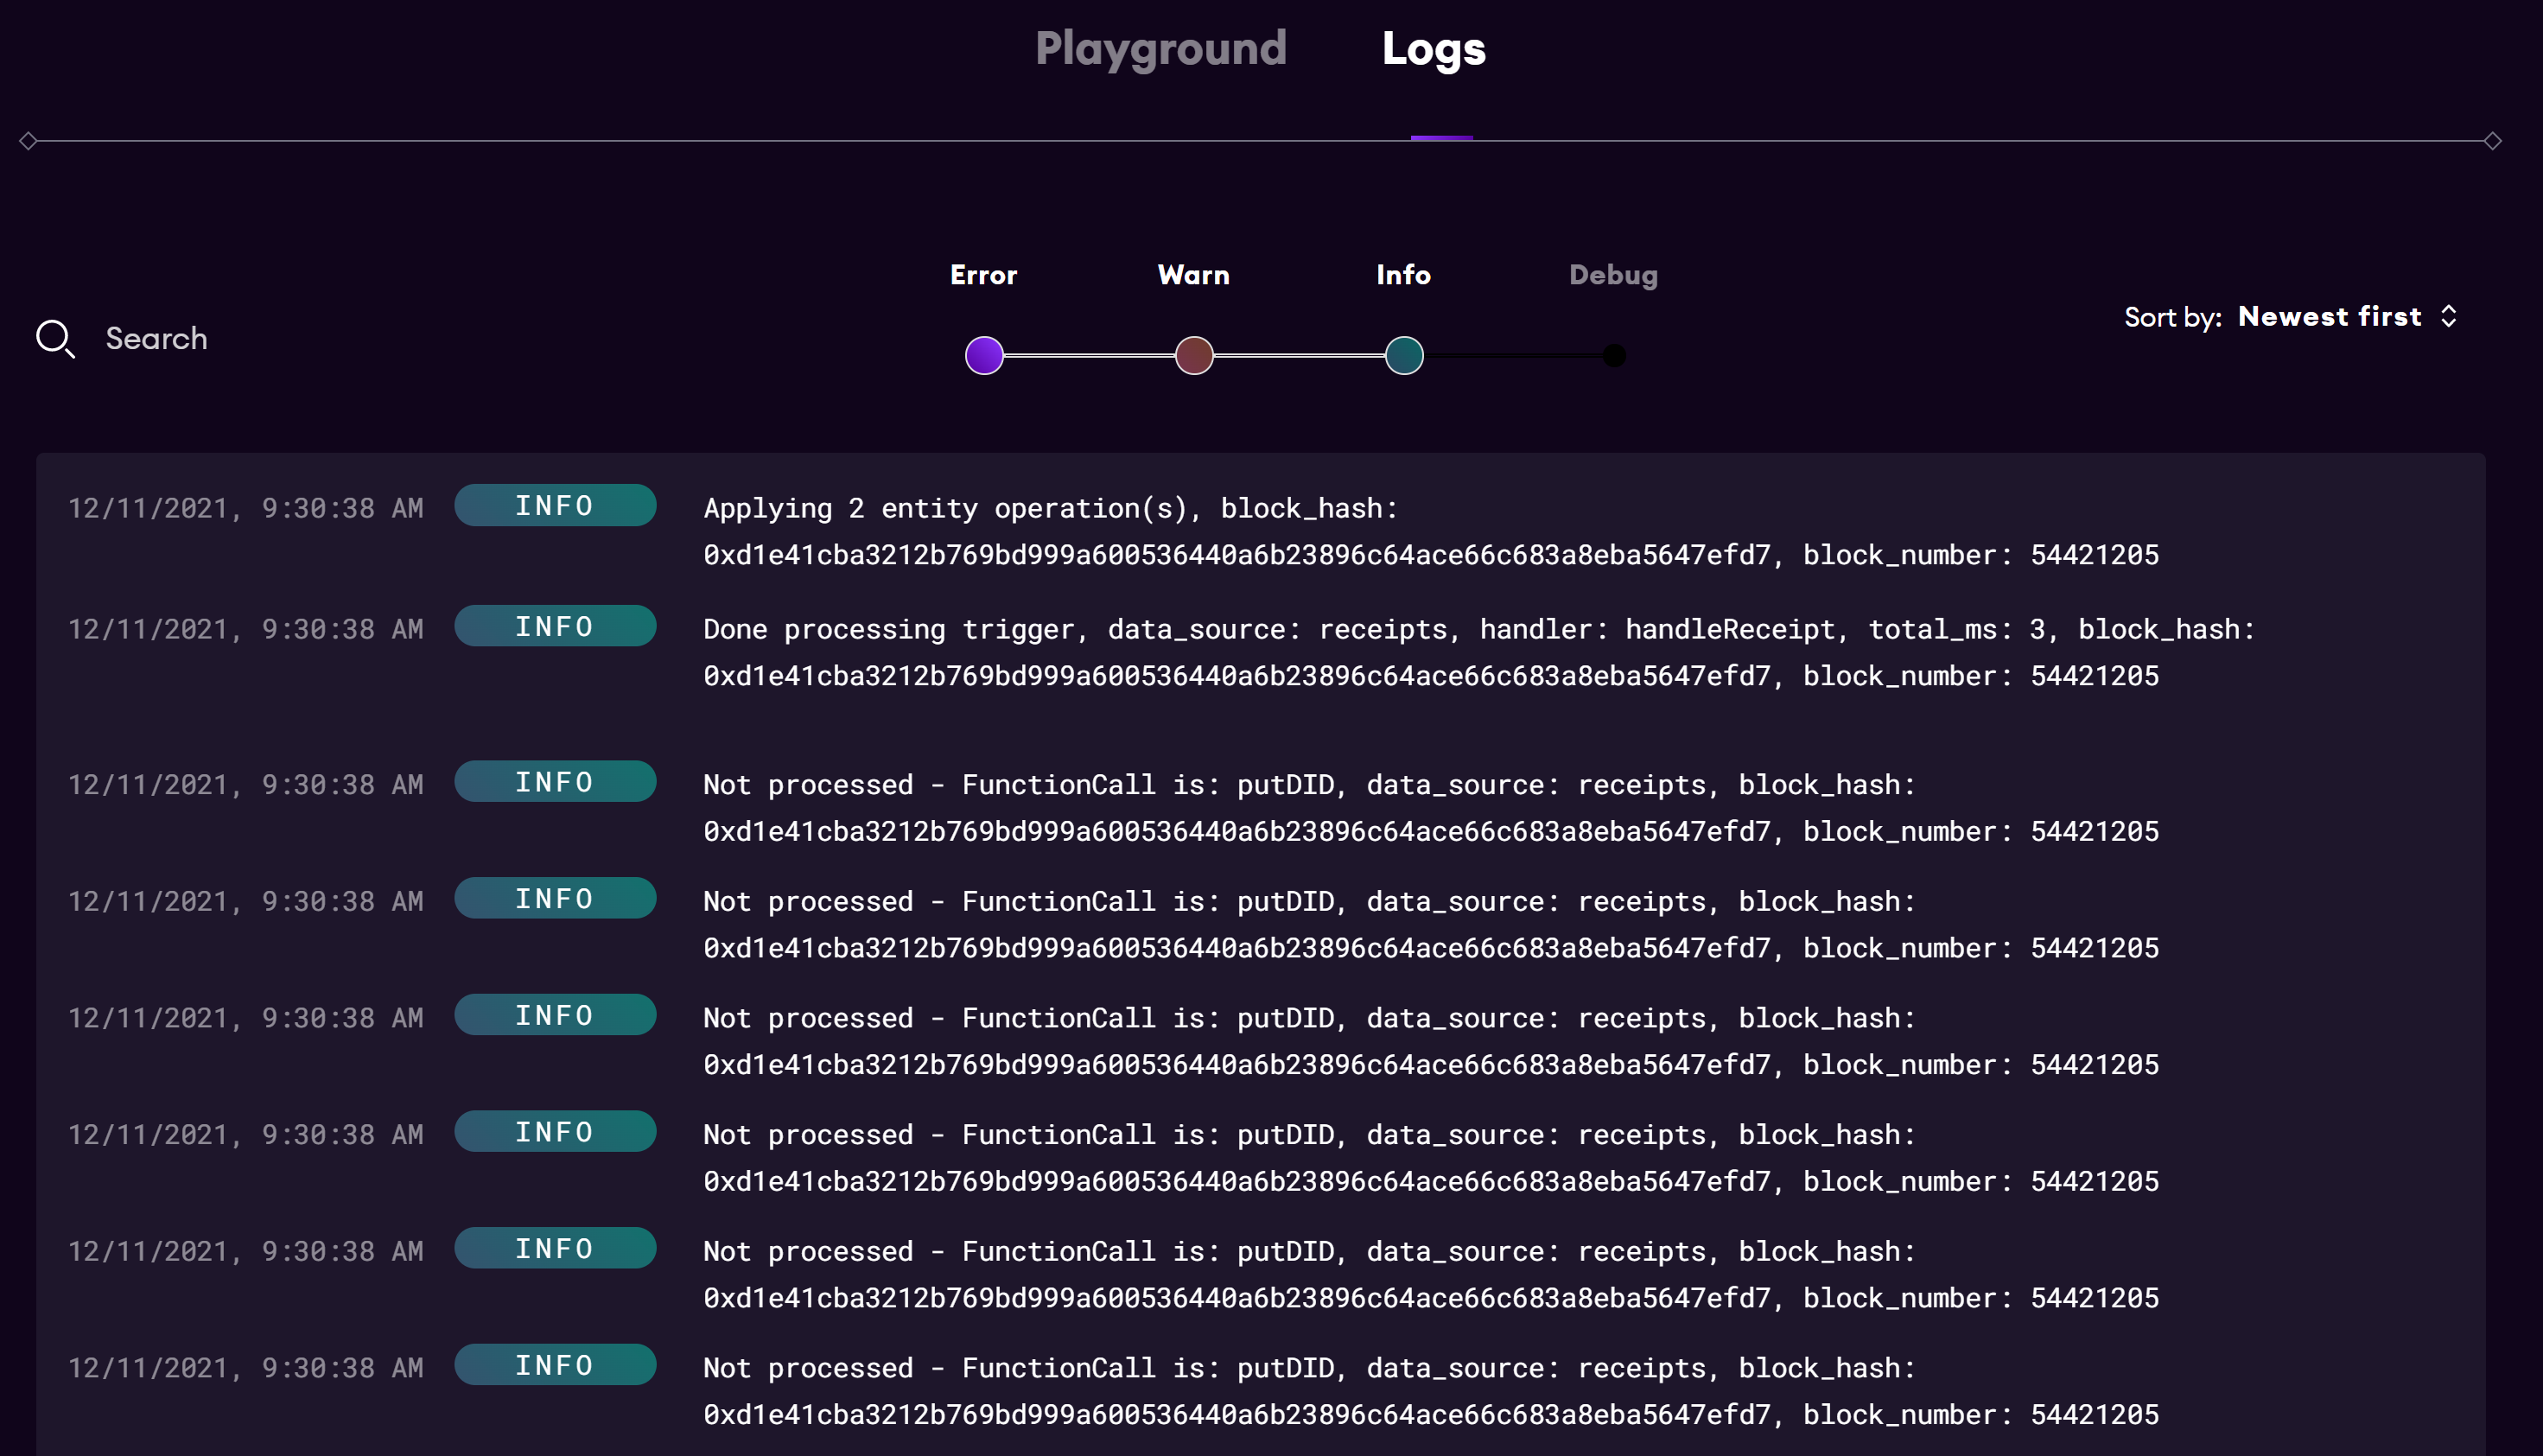
Now if you visit your subgraph in your dashboard, you can click on the Logs and see it starting to scan the NEAR mainnet for logs emitted by the functions in the did.near contract.

Next Steps
Well done - you've now built and deployed a subgraph for NEAR - probably one of few people who have. Let's now make it do something useful by learning how to query it to bring data into our apps. That's up next.
Maybe you'd rather have us build your NEAR subgraph for you?
Not a problem and it can be pretty quick and inexpensive depending on the complexity of your contract. Get in touch using one of the methods below.
