Setting Up the Dev Environment
Lesson 5 Chapter 1 Module 2
Before we can get into building the project, you'll need a few things on your machine if you haven't got them already. I'm doing this tutorial and do my own development on Windows, so that will be reflected here - if you're using something else, you'll need to modify accordingly. If you're following a blockchain programming tutorial, I believe I can make a few assumptions about your level of computer saaviness, thus, I'm not walking you through a bunch of program installations and detailed configurations. If you do need help though, please reach out in the comments below - I'll do my best to get you sorted out.
Step 1: Install NodeJS. I use the LTS version (12.x.x at time of this writing). Believe it has to at least be higher than version 10 in order for near-cli to work which we'll install in a moment.
Step 2: I recommend you have Windows Subsystem for Linux (WSL) version 2 installed. I use Ubuntu 18.04. I've been able to eliminate many headaches by using linux inside the development environment instead of Windows. You may be able to skip this step and just do everything from a windows terminal, but I've found WSL solves a lot of problems that come along with trying to develop on Windows. Everything I show you here is going to be using WSL so if you want to follow along in the same manner - you'll need to get this working.
Step 3: Install and get familiar with the basic usage of Visual Studio Code (or whatever integrated development environment (IDE) you like to use).
Step 4: Install near-cli globally. Open up a terminal inside VS Code (ctrl ~) and type the below command. You'll need this to create accounts and deploy contracts to them on NEAR.
npm install --g near-cli
Step 5: In the terminal - setup the project scaffolding using create-near-app. We're going to use Assemblyscript for the smart contracts and react for the frontend so the command to do this (ensure you're in a directory where you want the project to be located) is:
npx create-near-app --frontend=react token-access
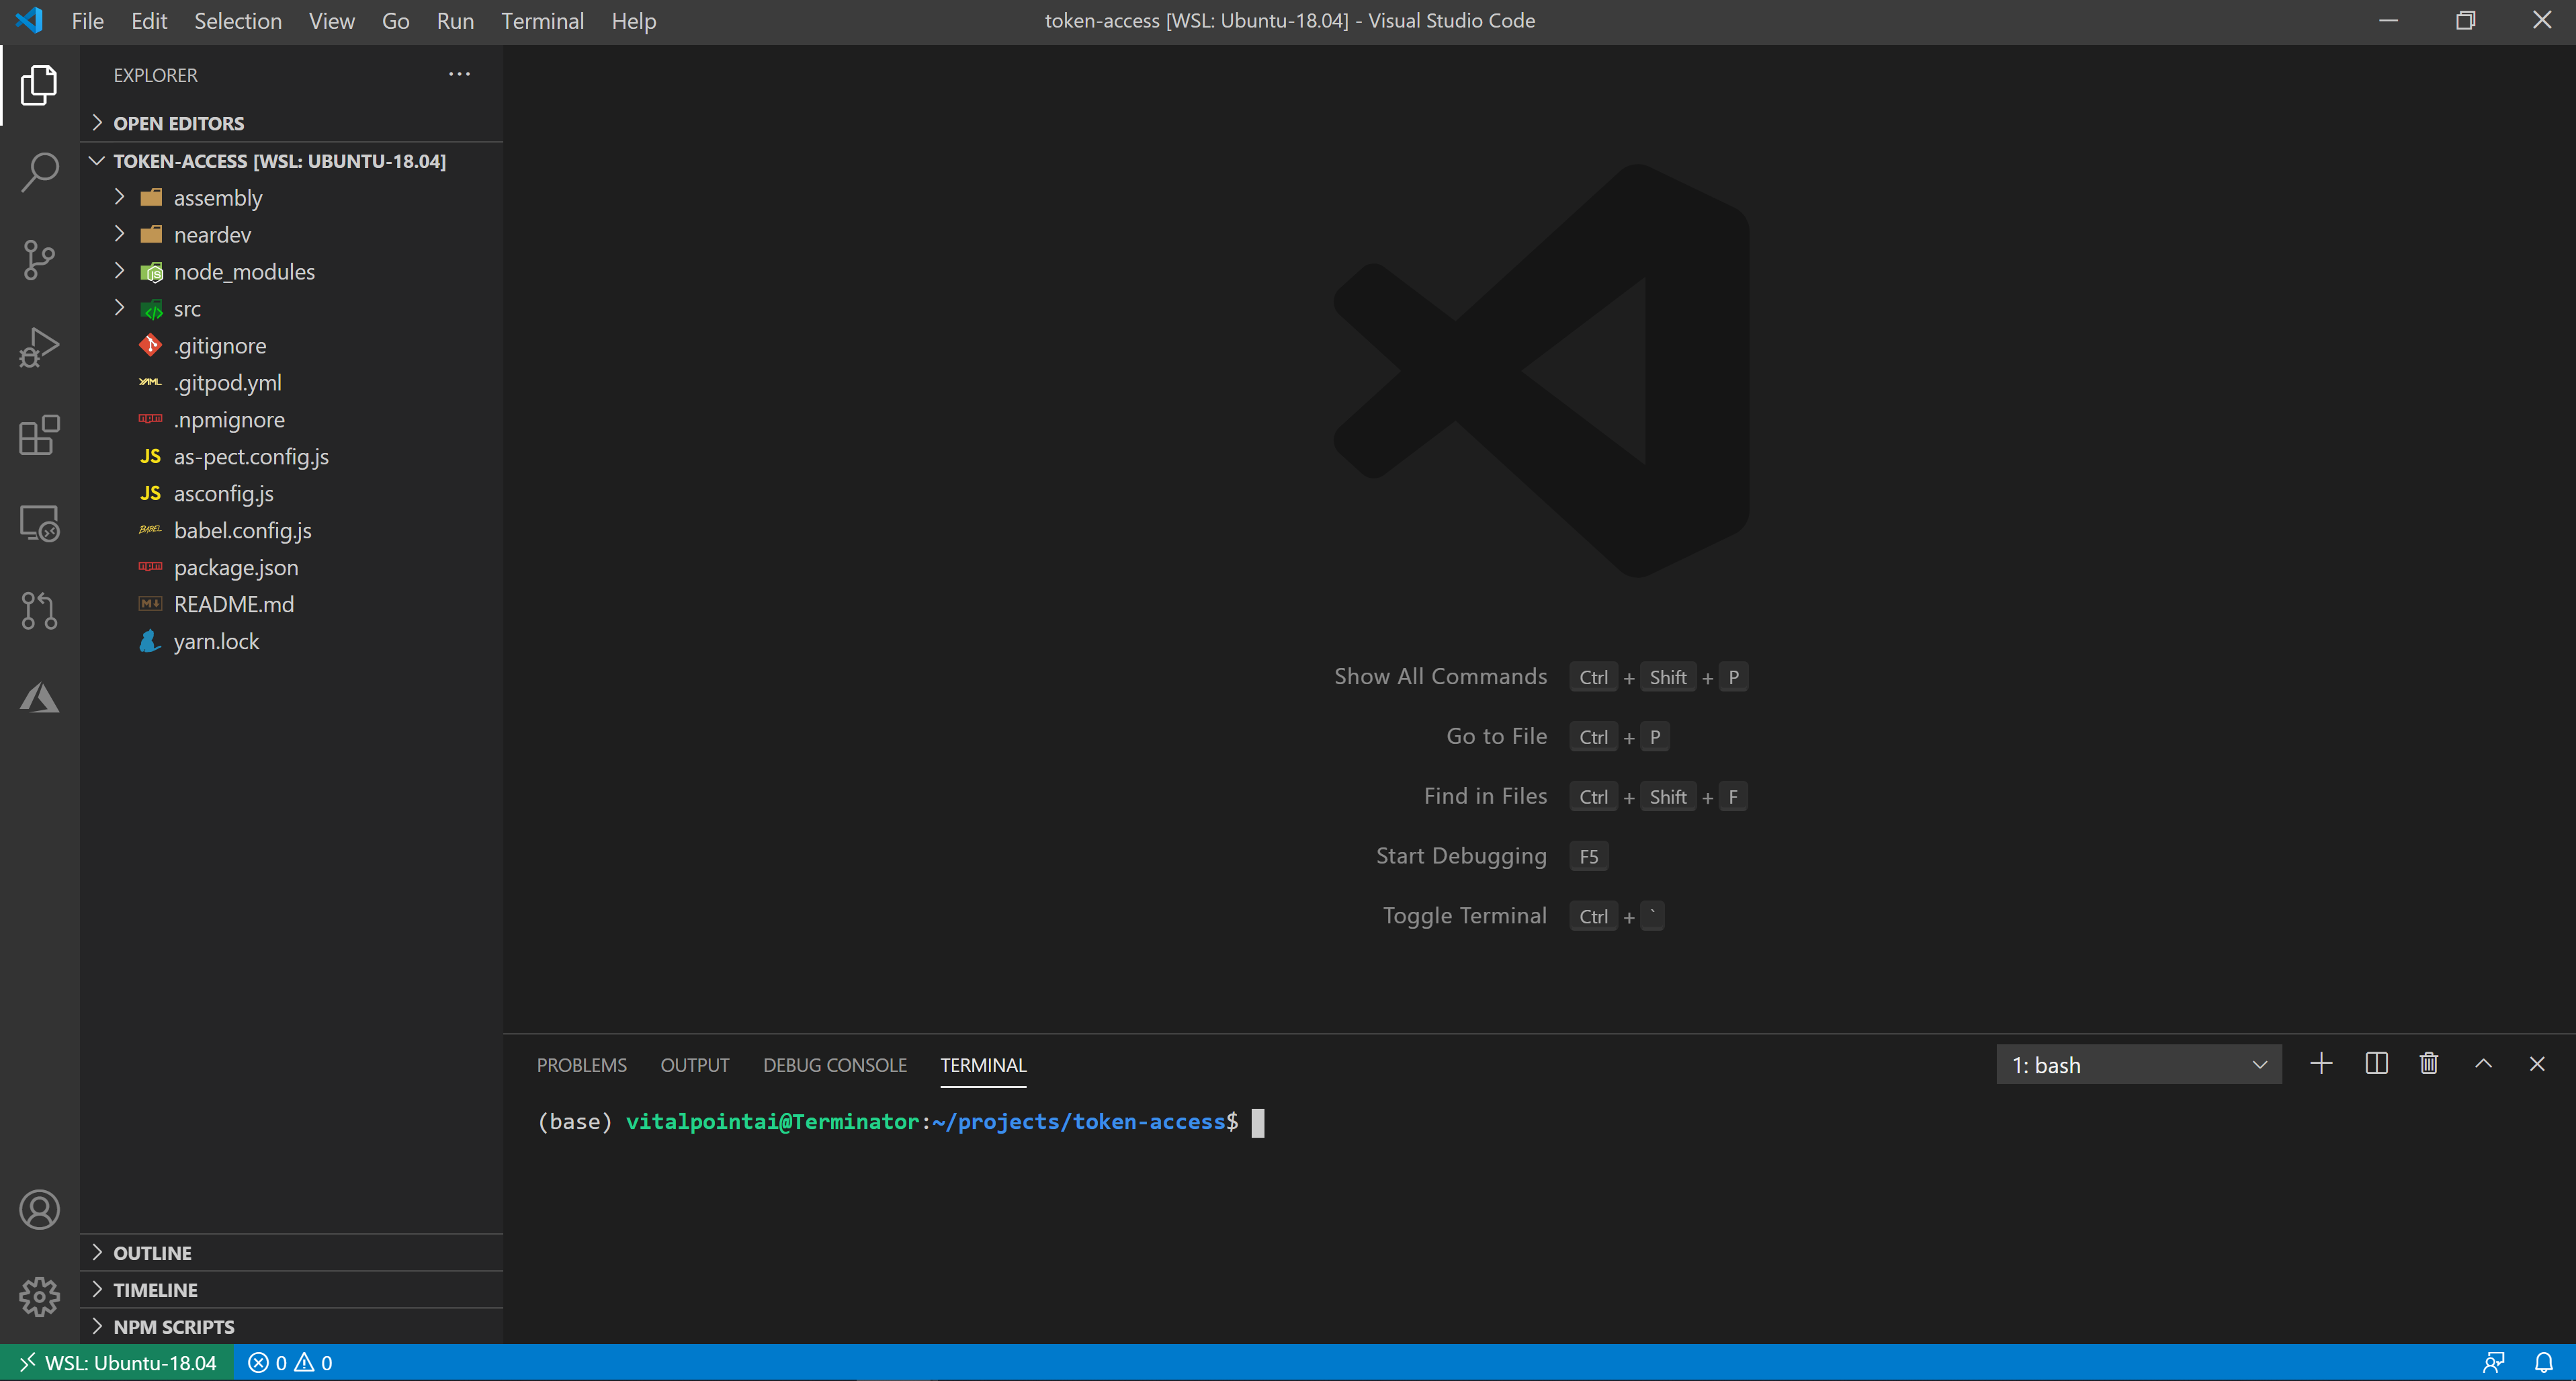
That will create a directory in the directory you call it from called token-access and put a bunch of files in it. Note that you'll only want to use lowercase and hyphens for this so the resulting package.json file doesn't complain about the name of your app. At end of this, you should be able to open the folder in VS Code and see something like so:

Step 5: create-near-app gets updated from time to time, but given the speed of development, it's highly possible and probable that many of the package dependencies are not the latest versions. I like to ensure I stay on the cutting edge of the latest releases (although that sometimes mean fixing code to accommodate...). To do that, open up the package.json file and check the versions of near-sdk-as, near-shell (need to change it to near-cli now), near-api-js. If need be, update them to the latest versions before moving on to step 6.
If it doesn't exist in the file structure created, if updating the packages and in particular near-sdk-as to a version > 1, you'll need to add a asconfig.json file in the root directory. It needs to have the following in it:
{

"extends": "near-sdk-as/asconfig.json",

"entry": "assembly/main.ts",

"options": {

     "binaryFile": "out/main.ts"

     }

}
Step 6: type npm install in the terminal. This will install any dependencies into node_modules that are needed to set things up correctly.
Step 7 (Optional): I like to create my own accounts and control what accounts my contracts are deployed to. It's also beneficial during development because the current way to delete state or upgrade a contract will see you delete the old contract account, recreate it and redeploy the contract.
Quick Note
The create-near-app scaffolding will create a dev account and deploy the contract for you if you change nothing and type npm run deploy into the terminal. The neardev folder will be populated with some info including your new account names/keys and your contracts will be available on the near chain for use.
I change the following lines in package.json and manually deploy my contracts.
"build:web": "parcel build src/index.html --public-url ./",

"prestart": "npm run build:contract",

"start": "env-cmd -f ./.env parcel src/index.html",
Note the .env file referenced in the start command. You'll need to create it in your root. Add a variable called CONTRACT_NAME = . It can stay empty for now but will eventually point to the contract account you deploy your contracts to and it's used by the config.js file in the src directory to connect to the contract on the NEAR networks defined in that configuration.
Step 8: Usually you're going to link your code to a Github repository. To do that type git init from the root directory. Next, open up the .gitignore file and ensure .env is in it. Typically you put things in your .env like access keys and so on that you don't want to inadvertently upload to Github for all to see.

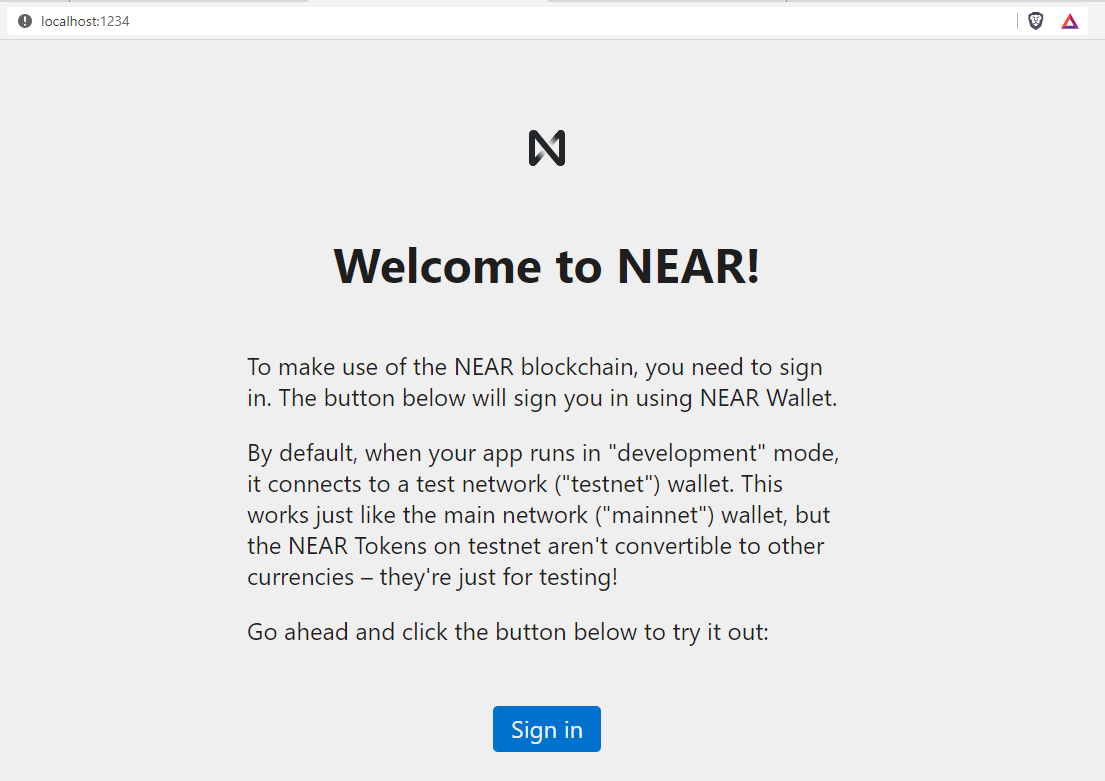
Step 9: Test it out by typing npm run start in the terminal. If everything is in order, a browser will open at localhost:1234 and you'll see a page asking you to sign in as pictured on the right.
Clicking that will take you to the NEAR wallet, but there will be an error because we haven't deployed a contract to an account and linked it up.
Let's do that next.
